
My niece is four on Monday. Her family has just moved into a new house, where for the first time she has her own bedroom and isn't sharing with her big brother. I wanted to make her a birthday present for her bedroom, tied to the colour scheme, which is apparently pink with a hint of green.
I learnt plenty along the way with this project. First, make sure that you have everything you need before you start - I bought the fabric for the patchwork, but not the backing or the bias binding, and my race into Perth on the way back from somewhere else yielded colours which are okay, but not exactly what I was looking for. Then I got home and found I still didn't have any fusible webbing or pink thread for the bias binding - so I ended up managing without. Which brings me to the second thing I learnt: Leave yourself plenty of time. I started this with under five days before it needed to go in the post. With so many other things going on, it was a real struggle and I think the quality of finish shows it.
So here goes:
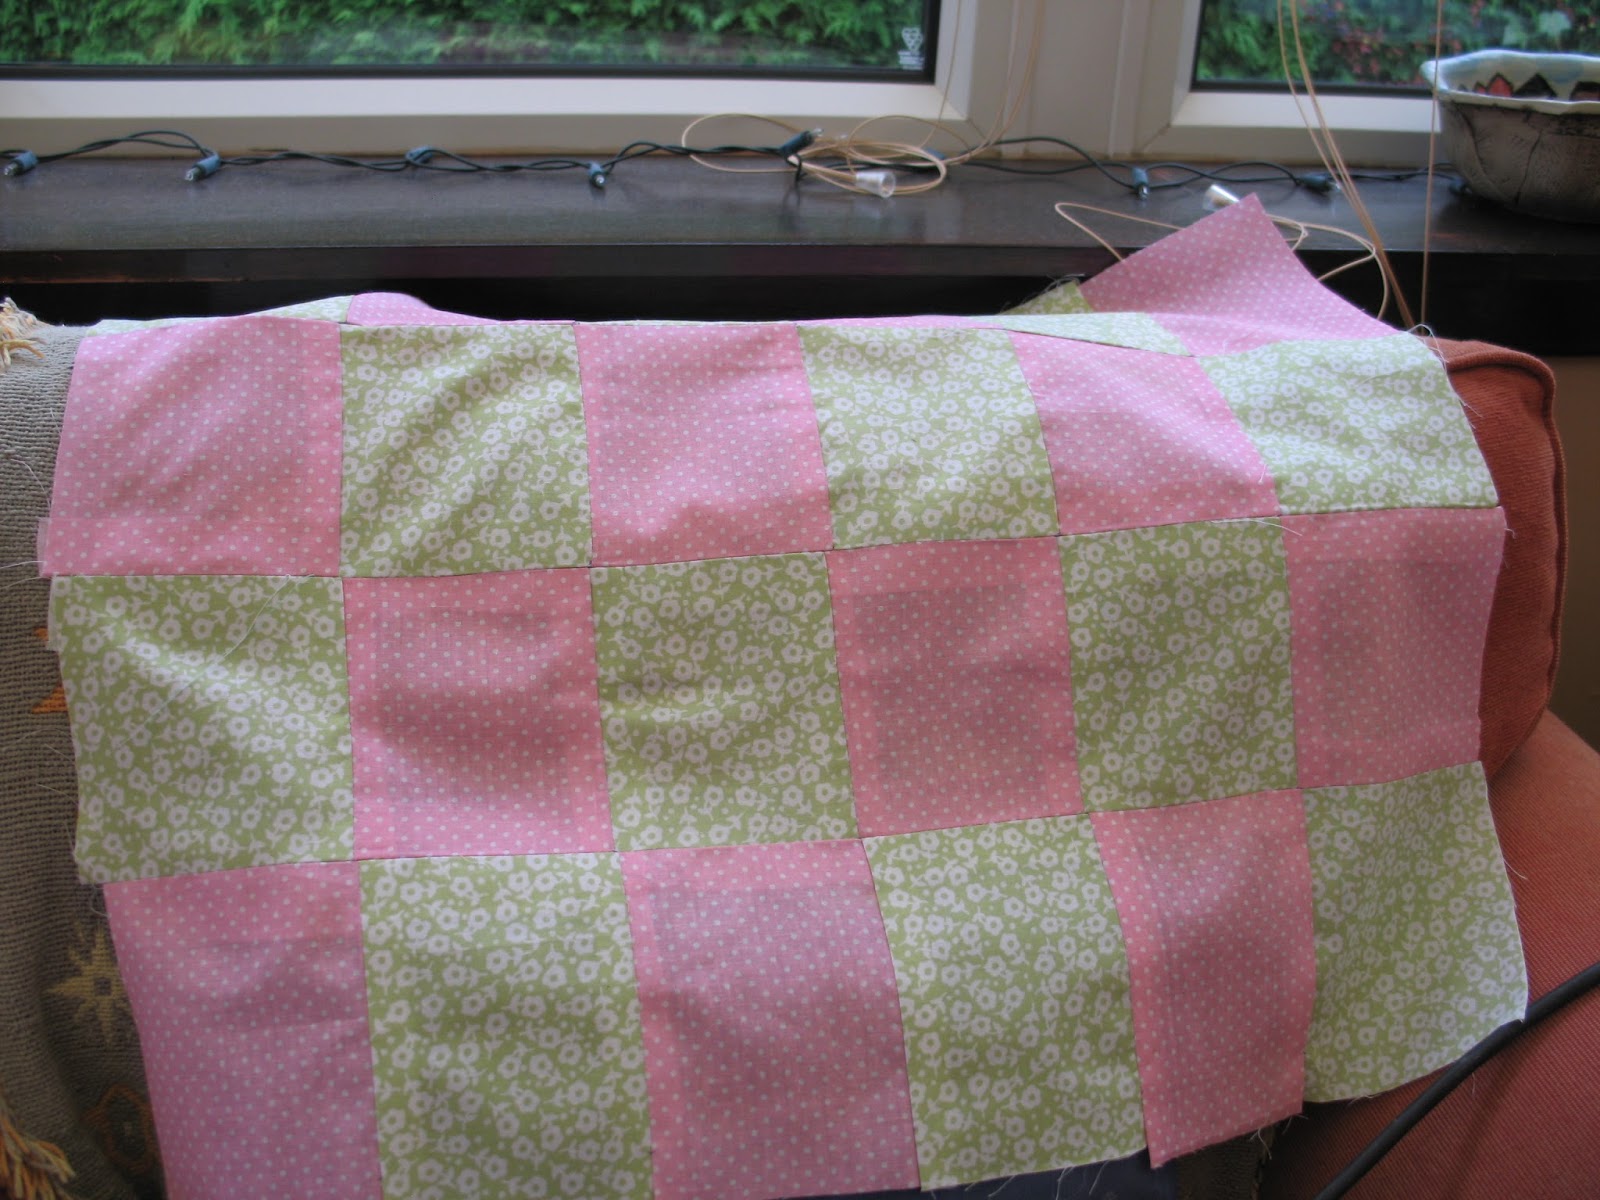 |
| 1) Cut out the pieces of fabric for the patchwork, baste them together (I used a card template to ensure they remained 12x10cm) and then stitch. |
 |
| 2) Iron the seams. |
 |
| 3) Cut out the letters for the name (using card templates), and fix on. Ideally you would use fusible bonding web for this, but... |
 |
| ...I didn't have any, so carefully folded under the edges and hand stitched. |
 |
| 4) Add the wadding and the backing, baste together and then quilt around the letters, leaving a large space. I did this with the machine, but I hadn't basted very well, so the fabric ended up a bit bumpy. |
 |
| here's a closer look |
 |
| 5) press, pin, and then stitch on the bias binding, making sure that you catch both pieces of fabric and the wadding within the binding. |
 |
| 6) stitch on a couple of hanging loops in matching ribbon. |
 |
| 7) Press the finished article, and then it's ready to hang on your wall, or in my case, to be wrapped up and rushed to the post office! |
No comments:
Post a Comment